
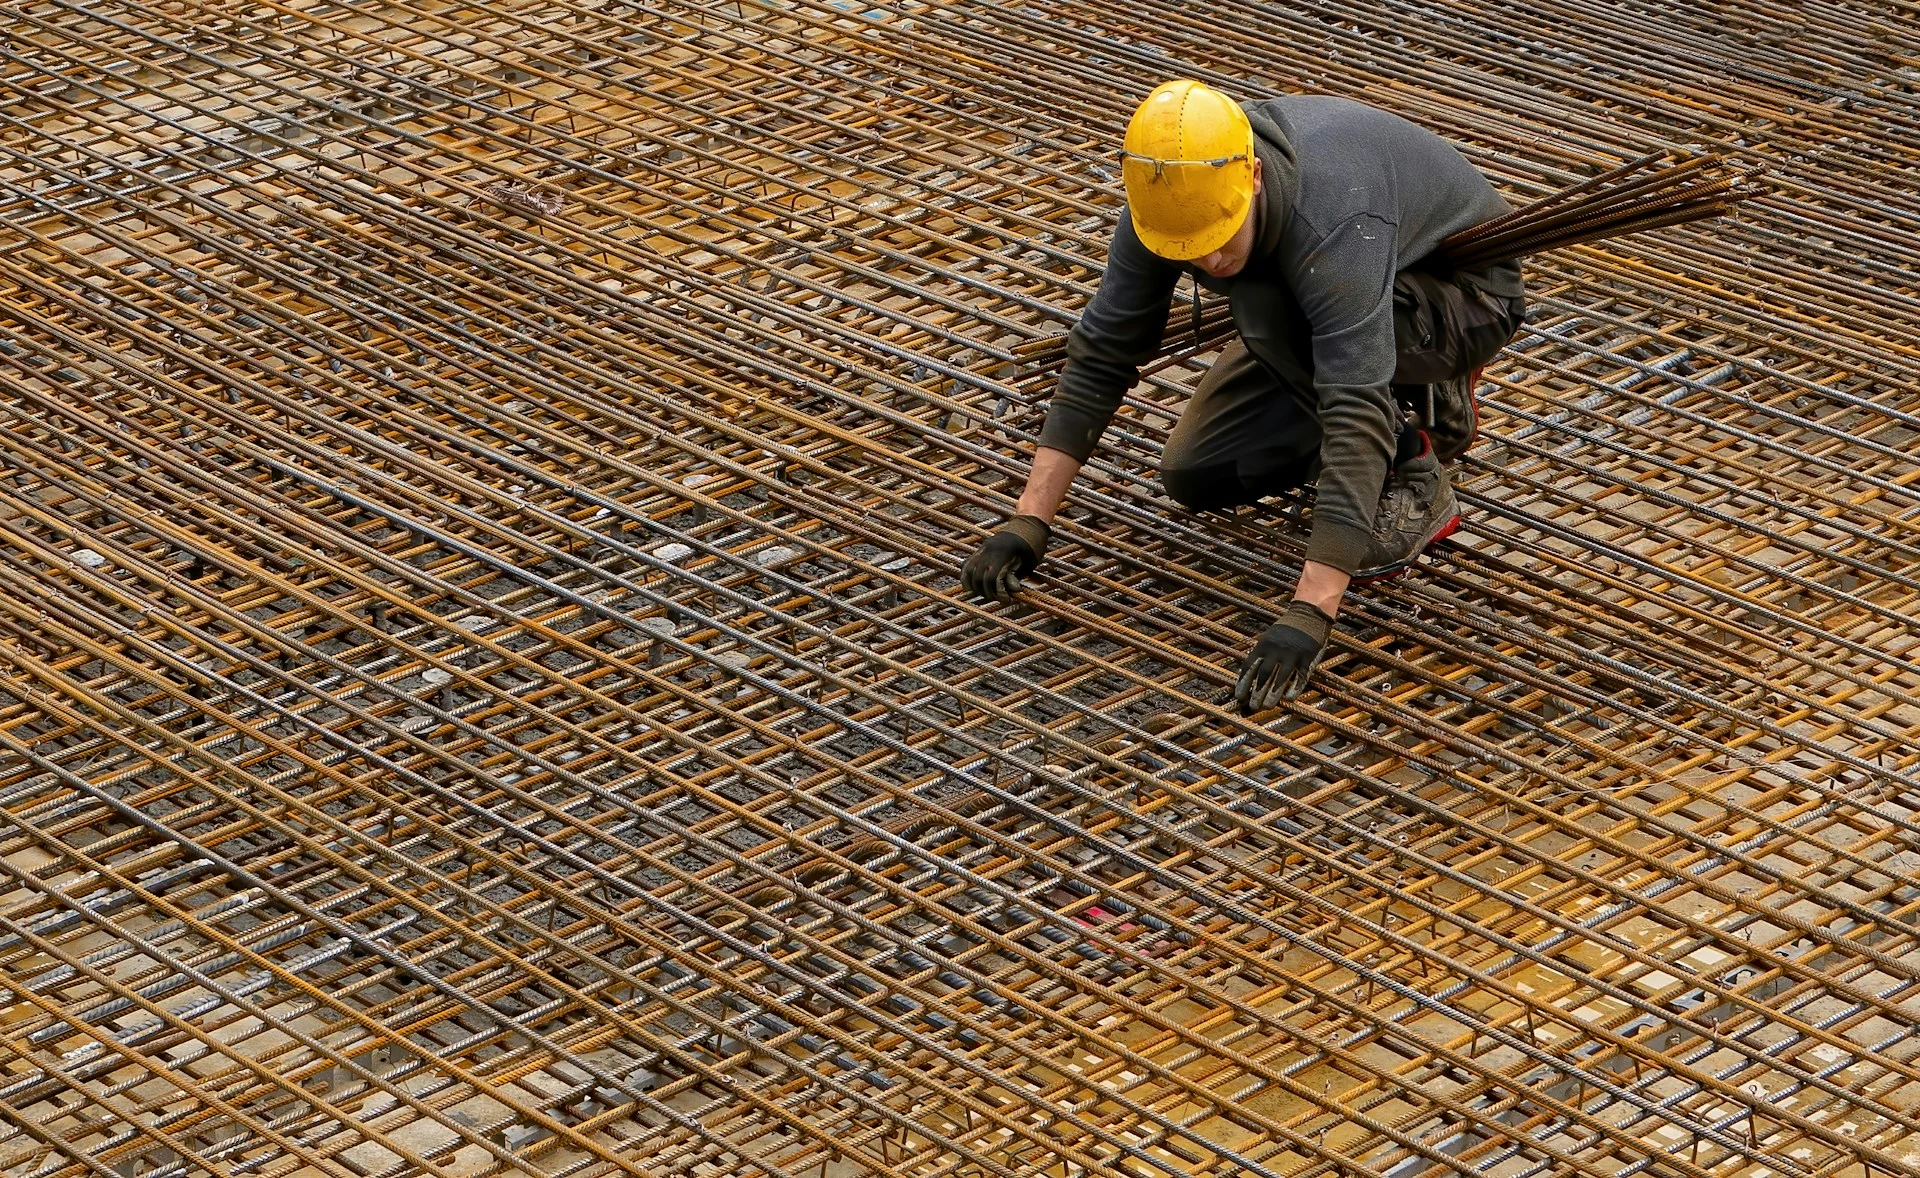
Rebar (reinforcing steel bar) is what gives concrete its tensile strength. Concrete is strong in compression but weak in tension—rebar solves that problem by helping slabs, beams, columns, and foundations resist cracking and bending.
If you’re planning a build, renovation, or even a small concrete project, choosing the right rebar size matters. Too small and it may not provide enough strength. Too large and it can be hard to place properly, can cause poor concrete coverage, and may be unnecessary cost. Here’s a simple guide to help you choose.
Understanding Rebar Sizes
Rebar “size” usually refers to the bar diameter. Different countries use different labeling systems (metric vs. imperial), but the idea is the same: bigger number = thicker bar.
In many construction markets (including the Philippines), you’ll commonly hear rebar sizes described like:
- 10mm (≈ 3/8″)
- 12mm (≈ 1/2″)
- 16mm (≈ 5/8″)
- 20mm (≈ 3/4″)
- 25mm (≈ 1″)
- 28mm / 32mm (heavy structural use)
You might also hear terms like “#3, #4, #5” (imperial system) depending on the supplier or plan set.
Quick Rule: Match the Rebar to the Structure
As the load increases, the rebar size generally increases too. But it’s not only about thickness—spacing and layout matter just as much. A properly designed pattern of smaller bars can sometimes outperform fewer larger bars.
What to Use and When (Common Practical Uses)
1) 10mm Rebar – Light reinforcement and small works
Best for:
- Pathways and light slabs (non-structural)
- Small concrete repairs
- Tie bars and secondary reinforcement
- Minor home projects (small pads, walkways)
When to avoid:
- Load-bearing slabs, beams, or columns
- Any structural part of a house or building unless specified by an engineer
2) 12mm Rebar – Standard for residential use
Best for:
- House slabs (depending on design)
- Footings for small residential structures
- Small beams and lintels (with proper layout)
- General-purpose reinforcement for home builds
Why it’s popular:
- Good balance of strength, availability, and workability
- Commonly used in typical residential plans
3) 16mm Rebar – Heavier load areas
Best for:
- Larger beams and girders
- Columns in multi-level residential builds
- Footings with higher loads
- Areas supporting heavier walls or large spans
Use it when:
- You have bigger spans, heavier loads, or multiple floors
- Your engineer specifies additional capacity
4) 20mm Rebar – Structural reinforcement for high load
Best for:
- Major beams and columns
- Heavily loaded footings
- Retaining walls
- Structural members in commercial builds
Important note:
- Placement needs careful spacing and adequate concrete cover to prevent corrosion and honeycombing (voids in concrete).
5) 25mm and Above – Heavy structural and specialized engineering
Best for:
- Large foundations (industrial/commercial)
- Bridges, large retaining systems, heavy equipment bases
- High-rise structural members (engineer-designed)
This is typically not used for standard residential builds unless your structural design requires it.
Slab, Beam, Column: A Simple Breakdown
For slabs
- Often uses 10mm–12mm bars depending on thickness and load
- Spacing (like 150mm–200mm) is often what determines strength as much as bar size
- Slabs carrying vehicles or heavy loads usually require a stronger design
For beams
- Commonly 12mm–20mm main bars, with smaller ties/stirrups
- Beam design depends on span and load (floor above, roof loads, walls)
For columns
- Usually 12mm–20mm vertical bars, with ties (stirrups) that hold the shape and prevent buckling
- Column size and number of bars matter a lot—don’t “guess” columns
For footings and foundations
- Often 12mm–20mm depending on soil condition and structure weight
- Soil bearing capacity plays a huge role here
Don’t Forget These Critical Details
1) Concrete cover is non-negotiable
Rebar must be fully embedded with enough concrete around it. If bars are too close to the surface, they can rust and cause concrete to crack and spall.
2) Spacing and layout matter
Strength is not just “bigger bar.” Proper spacing, correct laps, and correct positioning are what make reinforcement work.
3) Use the right ties and stirrups
Smaller bars (like 8mm–10mm) are often used for stirrups/ties. These prevent shear failure and keep main bars properly positioned.
4) Use supports (rebar chairs/spacers)
Rebar should not sit directly on soil or formwork. Use chairs/spacers to maintain correct cover and placement.
5) Follow the structural plan (or consult an engineer)
Rebar sizing is part of the structural design. If you’re building anything load-bearing—especially beams, columns, or foundations—always follow engineered specifications.
Quick Cheat Sheet (General Reference Only)
- 10mm: light slabs, small projects, secondary reinforcement
- 12mm: common residential slabs/footings (as designed)
- 16mm: heavier beams/columns, multi-level homes
- 20mm: high-load structural members, retaining systems
- 25mm+: industrial/commercial, heavy engineering
Final Tip: Buy for Strength and Consistency
When choosing rebar, don’t only focus on size. Also consider:
- Straightness and uniform ribs
- Proper labeling/grade (as required)
- Reliable supplier and consistent stock